

Specialized Electrolux Appliance Repair in Los Angeles and Orange County
Practical Electrolux troubleshooting for odor source isolation: what you can check safely, what the symptom may mean, and when Los Angeles service is the better next step.
This problem can look simple from the outside, but several different systems can create a similar result. The sequence matters more than guessing a part from one symptom.
Local conditions around Los Angeles can make an external issue look like an appliance failure: mineral-heavy water, hot utility spaces, restricted built-in ventilation, and post-outage electrical events are all worth documenting when relevant.
The goal here is not to turn a homeowner into an appliance technician. It is to help you collect reliable evidence, make the safe checks that can actually change the diagnosis, and recognize the point where continued testing becomes unsafe or unproductive.
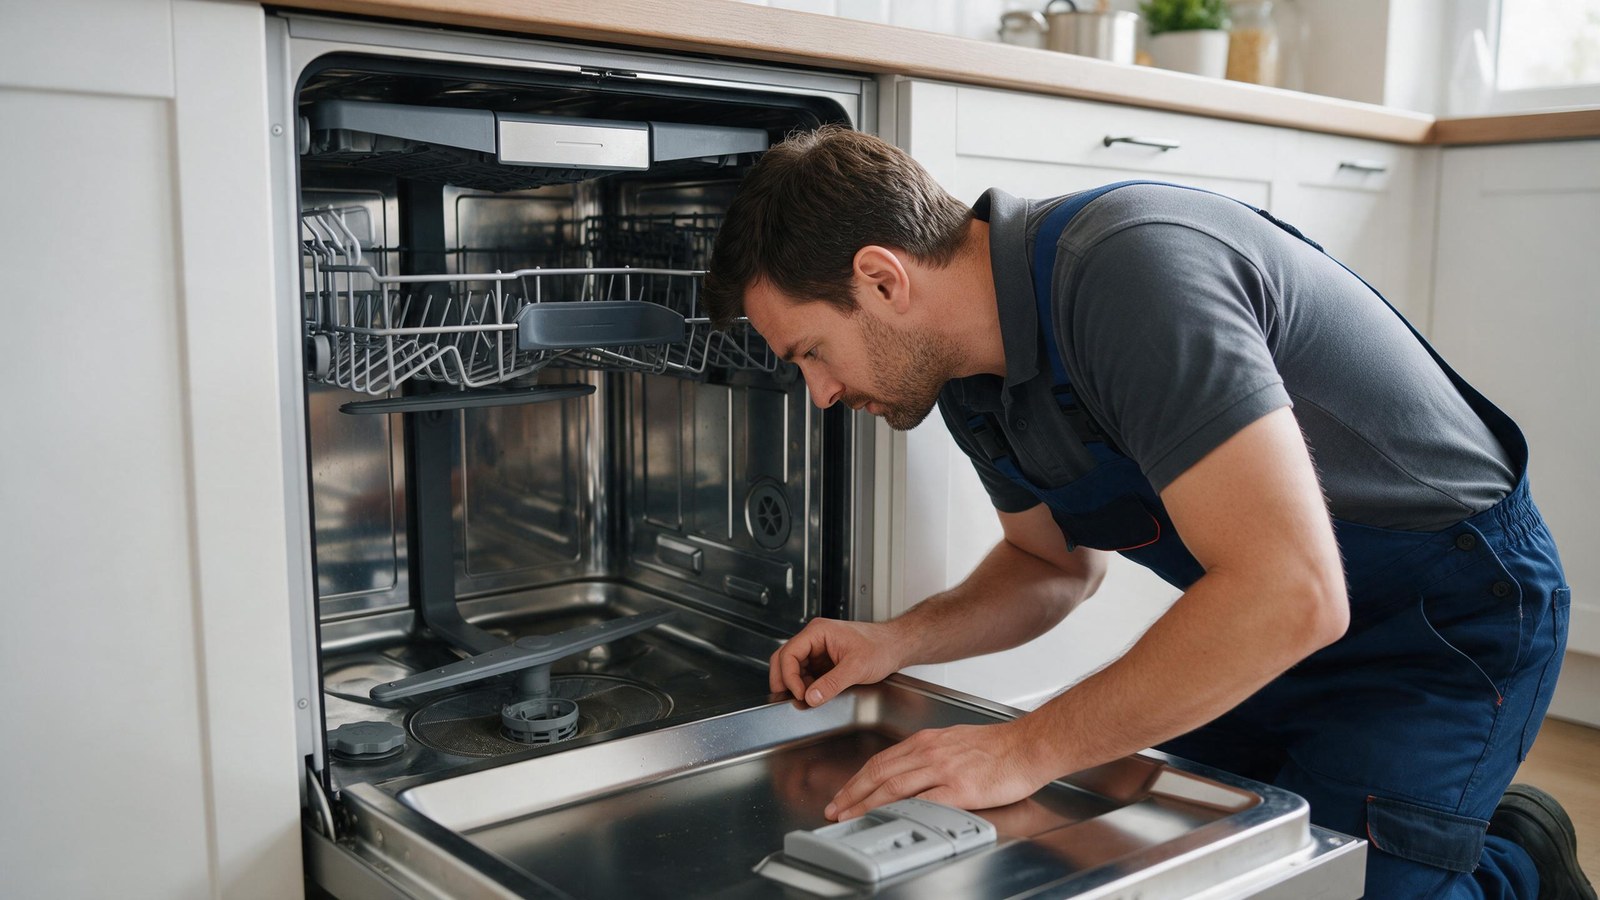
A persistent odor usually deserves a physical inspection before masking products are added. Food can collect in the filter, sump area, utensil basket, door lip, and around removable spray components.
Clean only user-accessible parts described in the owner instructions and reassemble them correctly before testing the dishwasher again.
Model documentation should take priority over generic repair advice whenever clearances, disassembly, electrical values, gas procedures, filter types, or service modes are involved.
An odor that returns quickly after cleaning can be associated with water remaining where it should not. A restricted drain hose, disposer connection, sink backup, or drain-pump problem can leave contaminated water in the machine.
Look at whether the tub is empty at the end of the cycle and whether the sink or disposer is draining normally at the same time.
If the symptom changes after a simple external correction, repeat the same test once before concluding that the issue is solved. A stable improvement is more useful than a one-time good cycle.
Grease and food residue can accumulate on surfaces that are not exposed to the strongest spray. Wipe the gasket and the lower door edge with a damp cloth using a cleaner appropriate for the appliance.
Do not saturate the control area or force tools into gasket channels.
The key is to compare one controlled condition at a time. Changing several settings, products, loads, or connections at once makes it harder to know what actually improved the result.
Hand-dish soap can create excessive suds and can leave an odor problem worse rather than better. Use only automatic-dishwasher detergent.
Very low-use households can also notice stale odors if damp soil remains for days before a cycle is run.
Avoid using a successful reset as proof that an electronic part is healthy. Intermittent faults can disappear temporarily and return when heat, load, water level, or another operating condition changes.
Book diagnosis if odor is accompanied by standing water, repeated i20-type drain behavior on an applicable model, leaking, poor wash action, or electrical/burning smells.
A sewage-like odor that is clearly coming from the sink or household drain may require plumbing attention rather than appliance repair.
If the symptom changes after a simple external correction, repeat the same test once before concluding that the issue is solved. A stable improvement is more useful than a one-time good cycle.
The strongest diagnostic clue is usually the relationship between start with trapped food, not fragrance products and when odor points to service. If the symptom changes after the checks in the middle of this guide, keep that result. If nothing changes, the fault is less likely to be a simple use or installation condition.
The next step is to reproduce the failure safely and measure the system that controls that exact operating stage. The diagnosis should come before the parts order.
Several different failures can imitate each other. A control board, for example, should not be condemned just because the display behaves strangely; the board depends on correct supply power, sensors, switches, wiring, and communication from other components. The same principle applies to pumps, valves, motors, fans, heaters, locks, and refrigeration components.
Use the full Electrolux model number before applying an error-code meaning or ordering a part. Similar products can share styling while using different electronics and service procedures.
After the safe external checks, run one normal test only if there are no stop-use conditions. Use the same load or operating mode that originally produced the symptom where practical, and avoid changing several variables at once.
If the symptom is gone, monitor the next normal use. If it returns at the same stage, record the pattern rather than repeating resets. A recurring condition is useful diagnostic evidence.
If the appliance shows an error code, photograph it before clearing the display. Include spaces, dashes, and letters exactly as shown.
Stop using the dishwasher for active leaking near electrical parts, uncontrolled filling, smoke, sparking, or a burning electrical odor.
Do not bypass door switches, lid locks, thermal devices, leak protection, breakers, GFCI/AFCI protection, gas safety components, or other interlocks. Do not perform live electrical testing unless you are qualified and equipped for that work.
Schedule service when the symptom returns after the external checks, a normal function can no longer complete, or the problem includes a safety warning.
Professional diagnosis may include fill timing, drain performance, circulation pressure, heater operation, leak/level sensing, and control outputs on the exact model.
A good repair estimate should identify the diagnosed fault and the proposed repair. The technician should be able to explain why the failed system matches the symptom and what was tested before the part is ordered.
Provide:
Also mention any recent move, remodeling, plumbing work, electrical work, filter replacement, vent change, power outage, or previous repair that happened near the time the symptom began. Those details can move the diagnosis in a different direction.
If the problem described here keeps returning on your Electrolux appliance, book a model-specific diagnosis in Los Angeles. Start with the model number and the symptom sequence so the visit can focus on the system that is actually failing rather than trial-and-error parts replacement.
Residue can hide in the filter, drain path, door edges, or plumbing connection where it is not visible from the tub.
Do not improvise with chemicals. Follow the cleaning products and procedures approved for your exact model and interior materials.
A small amount in a sump area can be normal on some designs, but obvious standing water in the tub after a completed cycle deserves a drain check.
Share a few details and we’ll confirm an appointment. Prefer to talk? Call us and we’ll help right away.
Fields marked with * are required.